Here's a question for you. Do you know how long it actually takes to make a Steiff Teddy bear from start to finish? The answer might surprise you... usually in the 8 to 9 HOUR range! Can you believe it? Well, Steiffgal wouldn't have either... until last weekend when she participated in the first ever North American Steiff Teddy bear making workshop in New York City. The workshop, which was arranged by Steiff North America's Club Manager and Superpal Carolyn Smith, was lead by Ralf Fahrig, Steiff's Area Sales Manager at Margarete Steiff GmbH, and his team of two amazing Steiff seamstresses.

Overall, two workshops were held: one starting at 9am, and one starting at 1pm. Each was sold out and over 40 Steiff enthusiasts had the great pleasure of customizing and detailing their very own bear. The room was set up with two large tables; each was draped in a black tablecloth. In the center of each table were several completed bears for study and inspiration. Each table was stocked with needles of various sizes, thick tan thread, many floss choices for claw and nose embroidery stitching, bins of different eyes in various sizes and colors, scissors, mohair combs, thimbles, and other tools. When the workshop attendees entered the room, they found their partially completed bear and name tag, and sat at that designated place. For the most part, people spent the first 10 to 20 minutes of the workshop experimenting with the different floss and eye color combinations to plan out how they would like to detail their bear; you can see Steiffgal's initial thoughts for this here on the left.

The bears all started out the same, except for what was embroidered in brown on the bear's tan felt paw pads. This was customized per each attendee's request. The bears were 28 cm, five ways jointed, and excelsior stuffed. They were made from long, curly, brown tipped mohair with a cropped muzzle. Each had an open seam up the back, no embroidery on their paws or face, and lacked eyes and a decorative ribbon. Here to the left you can see Steiffgal and her not-yet-worked upon cub; one paw says, "Steiff Workshop" and the other one says, "My handiwork RK, 11/8/14."
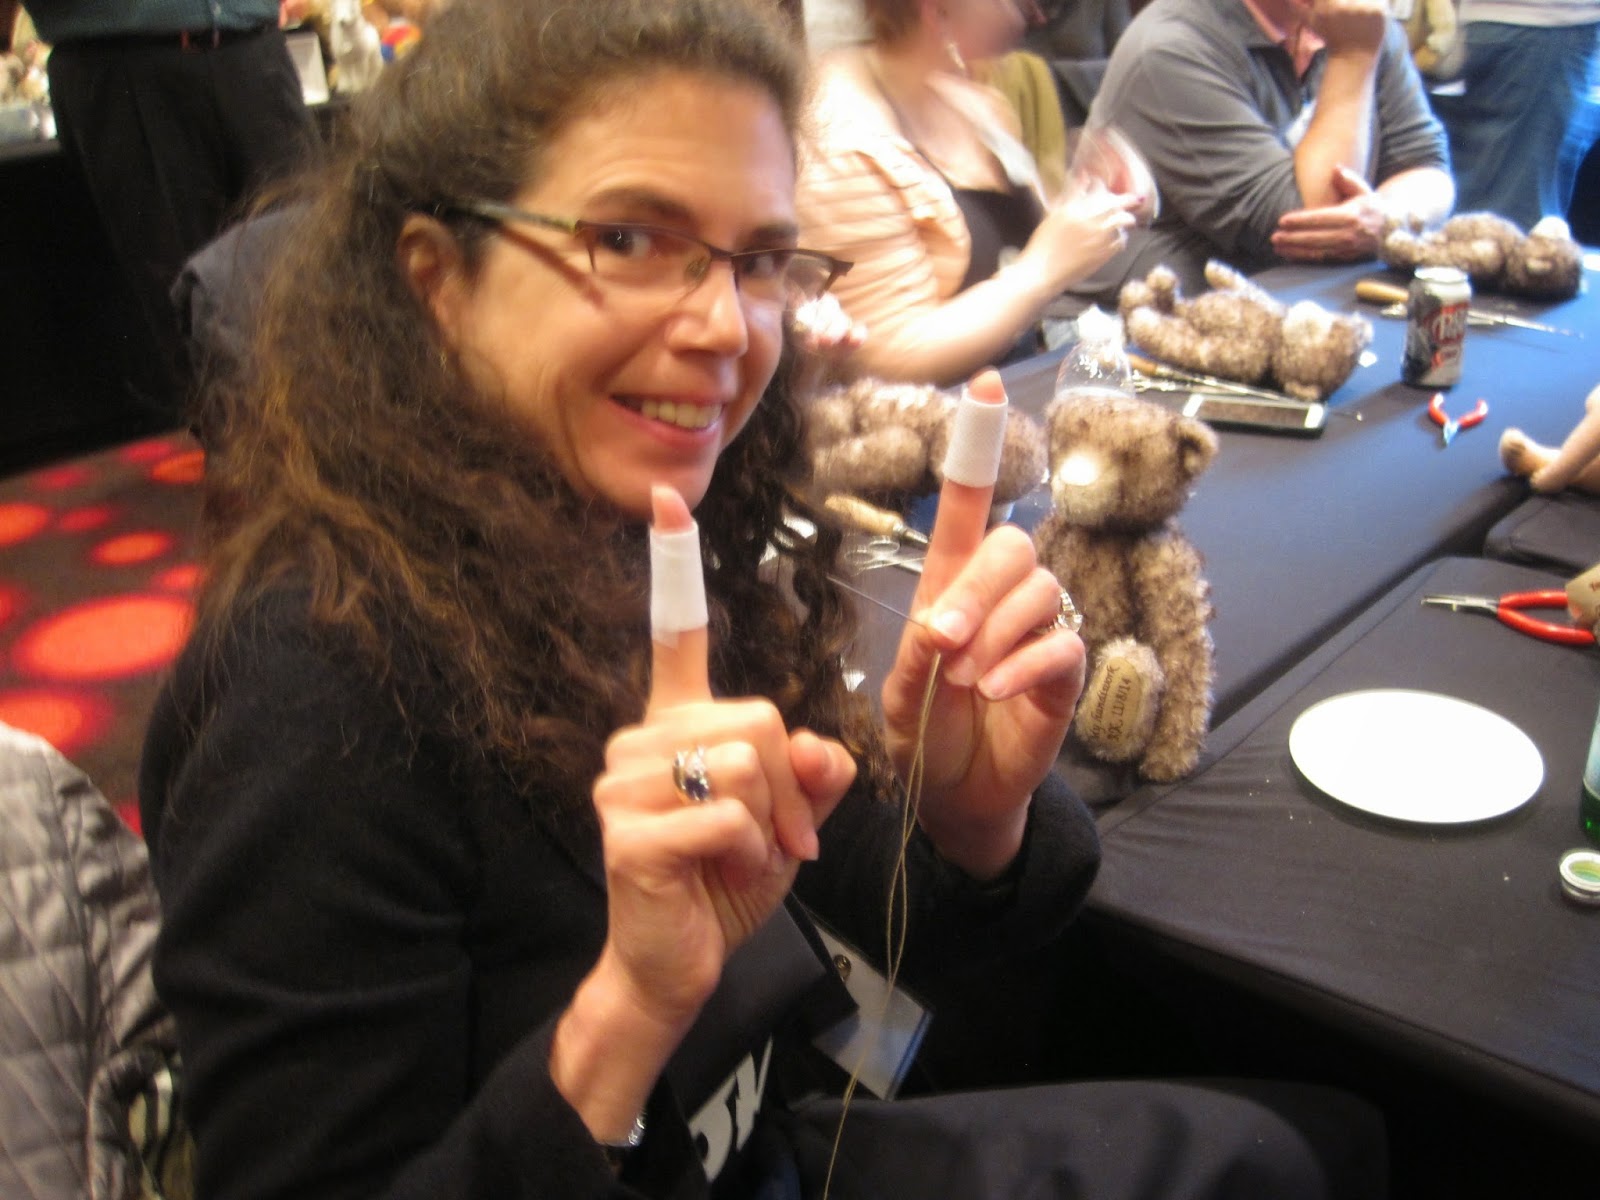
The very first thing attendees were instructed to do was to be careful of sharp pointed objects! And also to take care of their hands, as their fingers would be doing alot of stitching and thread pulling, which sometimes causes bleeding. So to prepare for that possibility, Ralf and his team gave everyone white German band-aids to put on their stitching fingers. Here you can see Steiffgal modeling these giant bandages!

Our first "hands on" task in the workshop was sewing up the back seam of the bear. This opening was about 4 inches long. We were instructed on how to thread the needle and knot the thread, and do a somewhat complicated "ladder" style stitch up the back. We were to make 3 of these stitches then pull them together tightly, then do another 3, and pull... until the seam was completed. Because the bear was stuffed with excelsior, attendees had to keep tucking strands back in the body cavity, as it sometimes fell out as part of the sewing process. This step turned out to be the easiest and most forgiving of all the ones needed to complete the bear - as the long mohair could be "combed over" any crooked seam or stitching on the back. After the back seam was completed, the stitching was knotted, and that knot was invisibly pulled through the body for durability and aesthetic reasons.

The next step was to embroider the cub's hands and feet with claws. Attendees had many choices of the colors in which to do this, including black, red, green, blue, and several shades of tan and brown. We used a bigger needle and thick embroidery floss to create these stitches. It was quite difficult to space the claws correctly, as well as make them the same overall length on each paw. Like with the back seam, the stitching was again knotted and pulled through each limb for durability and aesthetic reasons. Steiffgal chose to do her cub's foot claws in dark brown, and his hand claws in light brown.

Finally it was time to face the music and work on the bear's noggin. Each participant embroidered their bear's nose and mouth with a thinner version of colored floss; the colors were similar to those available for the claws. Steiffgal chose dark brown for this. In general, for a bear of this size, his nose has 6 or 7 equal length stitches, then a longer stitch, then another 6 or 7 equal length stitches. The stitches have to line up on the top and bottom. Then, once the nose is done, the mouth is formed, using the larger middle stitch as a "hook" for the downward facing mouth stitches. Steiffgal cannot begin to tell you how challenging all of this was. It was much, much harder than it looks or sounds. And, as a matter of fact, Steiffgal actually had a fellow participant help her rip out her first attempt at nose stitching, because it was so awful. But practice makes perfect, or in this case, improvement, and her second attempt was much, much better. In the spirit of creative design, Steiffgal also chose to put a light tan "Jackie" style horizontal nose highlight stitch across her bear's completed dark brown nose.

The almost last step in the workshop was inserting the eyes into the bear's head. Steiffgal chose gold and black pupil eyes for her cub. This process was completed via a metal tool that looked like a giant thick needle about 6 inches long. This "weapon" was securely mounted on a sturdy wooden handle. Participants threaded the giant needle and strung one eye onto the hanging thread ends. They then jabbed the needle through the area of the bear's eye socket, through his head, to the back of his neck. They then did this again with a second piece of thread and the other eye. (This sounds cruel, but the Steiff team assured everyone that the bears never feel a thing, and welcome the opportunity to see with their new eyes!) In a perfect world, the eyes landed with the correct spacing and in the desired location... and the threads for each both ended up within a 1/4 inch or so at the same place on the back of the neck. Like the nose stitching process, this was MUCH more labor intensive than you can imagine, and many participants, including Steiffgal, had to try it a few times to get it right. It also took tremendous hand strength to drive the needle through the bear's head, as well as tug the two neck strings tightly and knot them correctly. The ends from this knot were then re-inserted into the bear's head for durability and aesthetic reasons. After each bear had his new eyes, they were adorned with a large golden ribbon which read "Teddy Bear Workshop" on one end and "New York City 2014" on the other.
After all that work and worry, it was so exciting to see all the bears truly come to life with their new claws, noses, mouths, and eyes. And each really reflected the taste, character, and personality of their creator. Some cubs were very serious, and others were young and more playful looking. Some people designed their bears to match their favorite colors or even the decor of a special room in their home. One person in the morning workshop was building a very special bear which was going to be her 25th wedding anniversary present to her husband!

At this point in the workshop, the bears were almost finished... except for perhaps the most exciting part of all. The Steiff "buttoning," of course! Participants picked white ribbon ear tags with red lettering out of a large bucket. Each was imprinted with numbers ranging from 1 to 150, and it was by luck and chance who got what edition number. Steiffgal drew number 110. The buttons used on this edition were the gold plated "elephant" style ones. The button and ear tags were inserted into the bear's ears by a rather simple metal tool that sort of resembled a large vice. A member of the Steiff team layered the top of the button, then the white ear tag, then the bear's ear, and finally the back of the button and then "squeezed" these items together with the large vice. The top and bottom of the button sandwiched tightly, securing the bear's forever branding trademark. And, at long last (just a hair over four hours time...) all the cubs were finally completed and ready to go home with their new "friends for life."

The workshop was amazing in so many ways, and truly a once in a lifetime treat for many of the participants. For Steiffgal, it gave her a new appreciation for the precision handiwork that goes into every item leaving the Giengen factory, as well as a better understanding about how the company's items are built to last for generations. For others, it was a time to meet new enthusiasts, catch up with old friends, and discuss all things "button in ear." But it goes without saying that EVERYONE who participated in the workshop left with a greater passion for the brand, enormous respect for Steiff's professional craftspeople, and a deeper and far more personal understanding about what makes Steiff collectibles so incredibly special.
Steiffgal hopes this review of Steiff's Teddy bear making workshop has inspired you to attend one as well!
Have a question about one of your Steiff treasures? Let's talk! Click here to learn more.